Rhinoceros - Grasshopper - Keyshot | Workflow 3
Download Files : cademy.xyz/webinar3
Join our free webinar session to learn and create CAD model using Rhinoceros 3D, generate parametric texture with Grasshopper and create photorealistic renders using Keyshot.
Workflow Webinar : VR Headset
In this Workflow Webinar we will explore CAD modeling, parametric design and 3D rendering of a VR Headset.
You can watch the entire Webinar with this Link or at the end of this post.
To create the VR Headset, we will start by 3D modeling the base geometry in Rhinoceros 3D. With the given technical dimension, we will draw the front curve profile. Using the BlendCrv command, we will create a G2 curve continuity between the vertical & horizontal reference curves and mirror it two times to create the complete front profile.
We will convert the curve boundary as a Surface. Rebuild the surface to degree 6 surface in U & V directions. We will move the CVs to flex the surface. And later extrude the Surface to convert it as a Solid geometry.
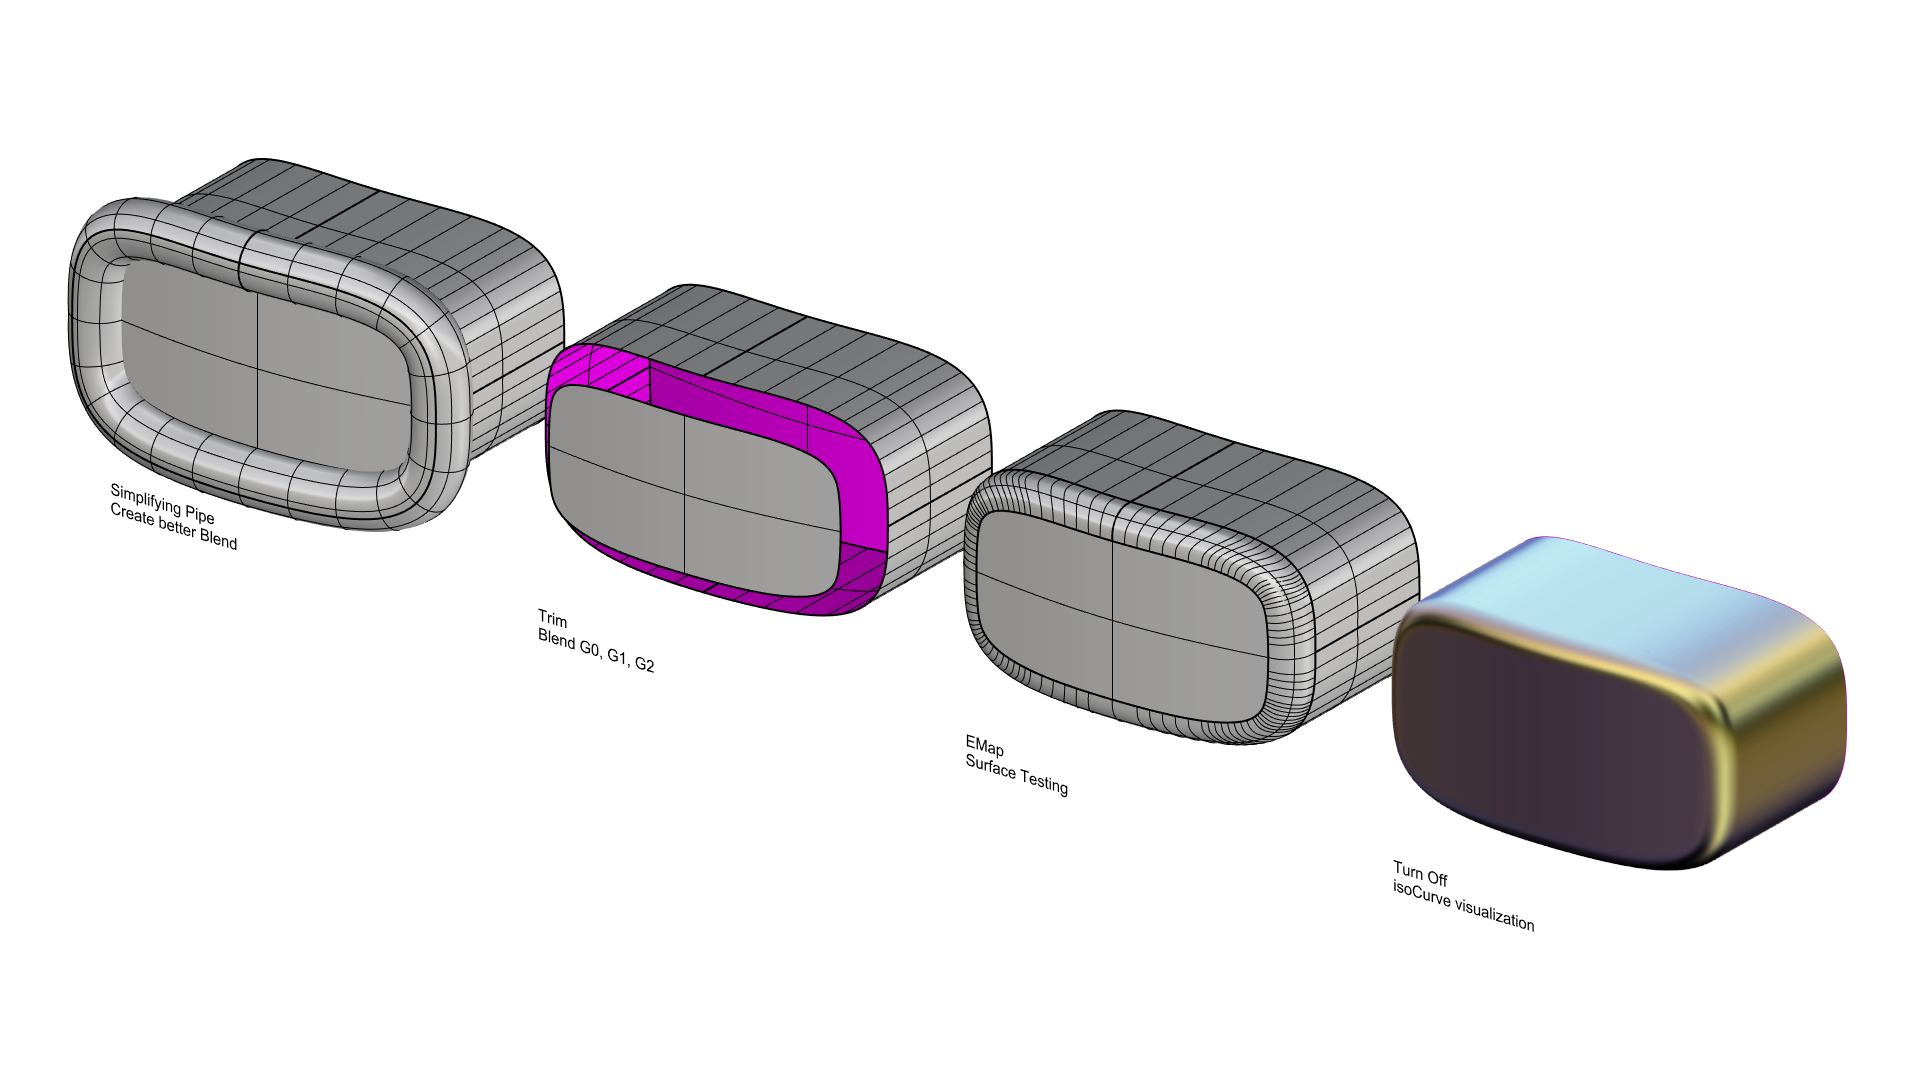
To fillet the Edge, we will use a different approach. Let’s pipe the Edge, rebuild the pipe surface to simplify the complexity. Use the pipe to trim the edges and bridge the gap with BlendSrf with desired continuity (G2).
We will add two parallel curves to add the front design feature. After splitting the front surface patch, we will move the central control points. Finally bridge the surfaces with surface from Sweep2 rails command. Make sure to select the curvature continuity criteria to create a smoother transition.
We will use a mesh geometry to approximate the mesh intersection with the Headset. This will give us a rough splitting curve. We can recreate a clean cutting profile for the forehead, cheek and nose contact points.
For the internal part of the VR Headset, we will use the outer shell shape and offset the overall shape. Use similar splitting profiles for the design features.
To model the Headband part, we will draw a rough sketch based upon the reference mesh. We will draw a cross sectional profile and use Sweep1 command to create the 3D geometry.
To add the tracking cameras, we will extract the normal direction of the surface on the 4 reference points. We will split the surface with a circular curve pulled to the blend surface. We will use the same normal vector to extrude the camera lense.
We will apply a parametric texture on the front part of the VR Headset using Grasshopper 3D. Grasshopper is a Plugin that works as a visual programming language within Rhinoceros 3D. Unlike RhinoScript, Grasshopper requires no knowledge of programming or scripting, but still allows designers to create parametric and algorithmic designs.
So, to create the 1st pattern, create a grid of points/planes on the surface. Some frames might not be oriented correctly so we will align all the frames to the Rhinoceros Z axis. After that we will create rectangles on the frames and rotate it 45º. Finally we will apply non uniform scaling in local X & Y axis. We will extrude the diamond curves in the normal direction of each plane. The depth is based upon curve attractor from the surface edge.
For the 2nd patten, we will create horizontal cross sections using the contour component. We will convert the curves to variable pipes. But before doing that we need to Reparametrize the curves. We will use values between 0 to 1 to control the thickness of the pipes.
Keyshot :
Let’s open the .3dm (Rhinoceros native file format) into Keyshot. Keyshot is a rendering software used to create photorealistic product renders. We will use the pre-configured materials from Keyshot’s material library. After configuring the materials let’s create a 3 point light environment using the HDRI Editor. We will also add a Logo on the side of the Headset using a Displacement Geometry Node.
You can watch the complete webinar below and download the sample files from here. www.cademy.xyz/webinar3
Thank you for going through this post. If you are interested in learning Rhinoceros, Grasshopper 3D or Keyshot, you can check our LIVE classes here: www.cademy.xyz/courses ❤️


