Rhinoceros - Grasshopper - Keyshot | Workflow 2


Download Files: cademy.xyz/webinar2
In this Workflow Webinar, we will explore the complete process of CAD modeling, parametric design, and 3D rendering of a trimmer/shaver.

Step 1: 3D Modeling the Base Geometry in Rhinoceros 3D
1. Draw Curves in U & V Directions based on the technical dimensions.
2. Use Degree 3 or 5 NURBS Curves for smooth transitions.
3. Create V Curves by following the reference sketch.
4. Generate U Curves using the CSec (Cross Section) Command, which creates cross-section curves through profile curves.
5. Create the Surface using the NetworkSrf Command, ensuring that:
- All curves in one direction cross all curves in the other direction.
- Curves do not intersect within the same direction.

Step 2: Refining the Geometry
6. Cap the Surface to make it a solid geometry.
7. Add Details with Boolean Operations to refine the design.
8. Split the Front Part of the trimmer:
- Create two offset curves on the front.
- Modify Control Points slightly to enhance the design feature.
- Trim the Surface and bridge the gap using Sweep2 Rails.

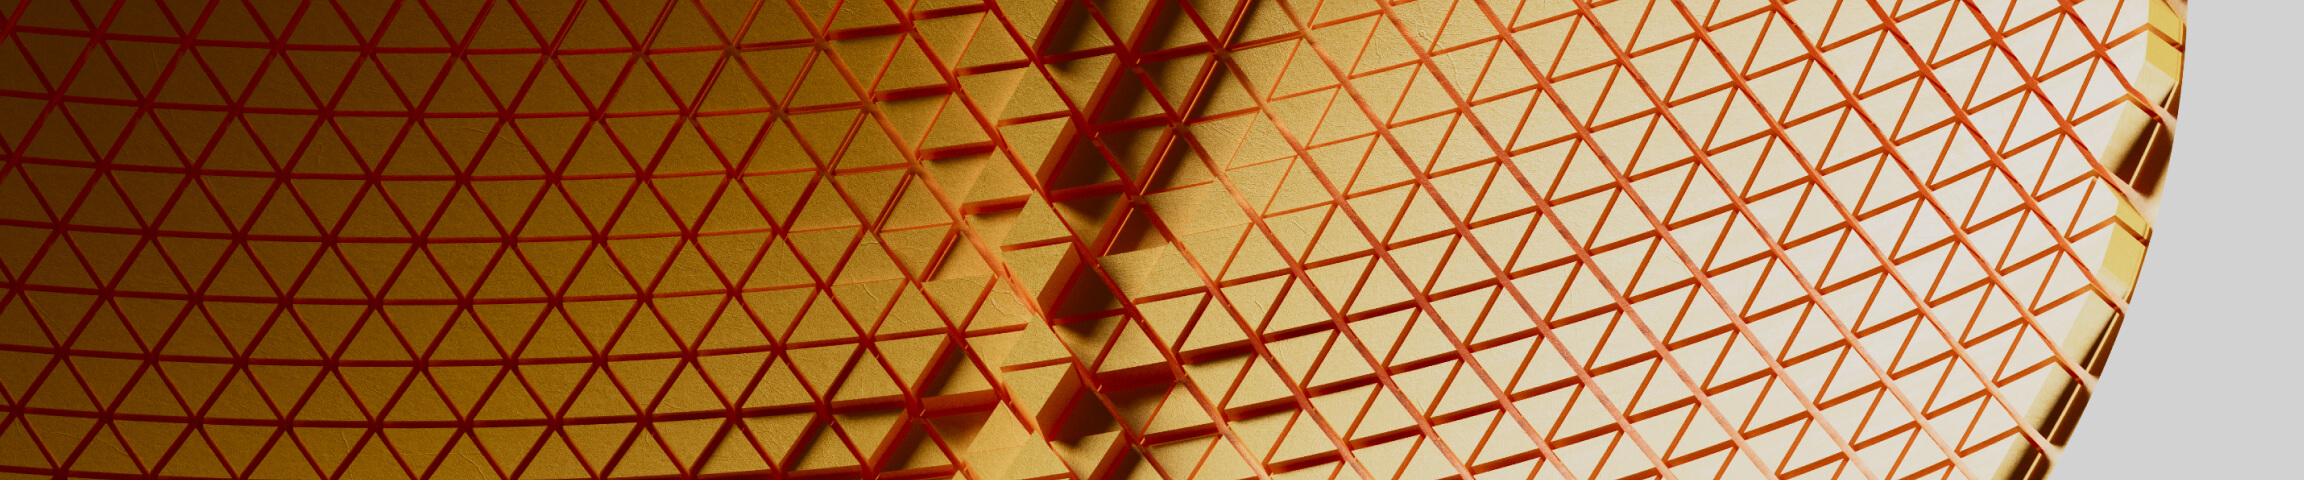
Step 3: Applying Parametric Texture in Grasshopper 3D
Grasshopper is a visual programming plugin for Rhinoceros 3D, allowing parametric and algorithmic design without coding.

9. Use the Surface Frame Component to generate planes on the surface.
10. Create Diamond-Shaped Polylines on the frames.
11. Fillet the Corners of the polylines for a smoother design.
12. Extrude the Panels in the normal direction, derived from the normal planes of the frames.
13. Cap the Panels to make them solid.
14. Perform a Boolean Difference with the main body to engrave the texture onto the surface.

Step 4: Rendering in Keyshot
15. Open the .3dm File in Keyshot.
16. Apply Pre-Configured Materials from Keyshot’s material library.
17. Set Up a 3-Point Lighting Environment using the HDRI Editor.
18. Hit Render to generate a photorealistic product visualization of your design.

Thanks for reading ❤️
Don’t miss out, enroll today.