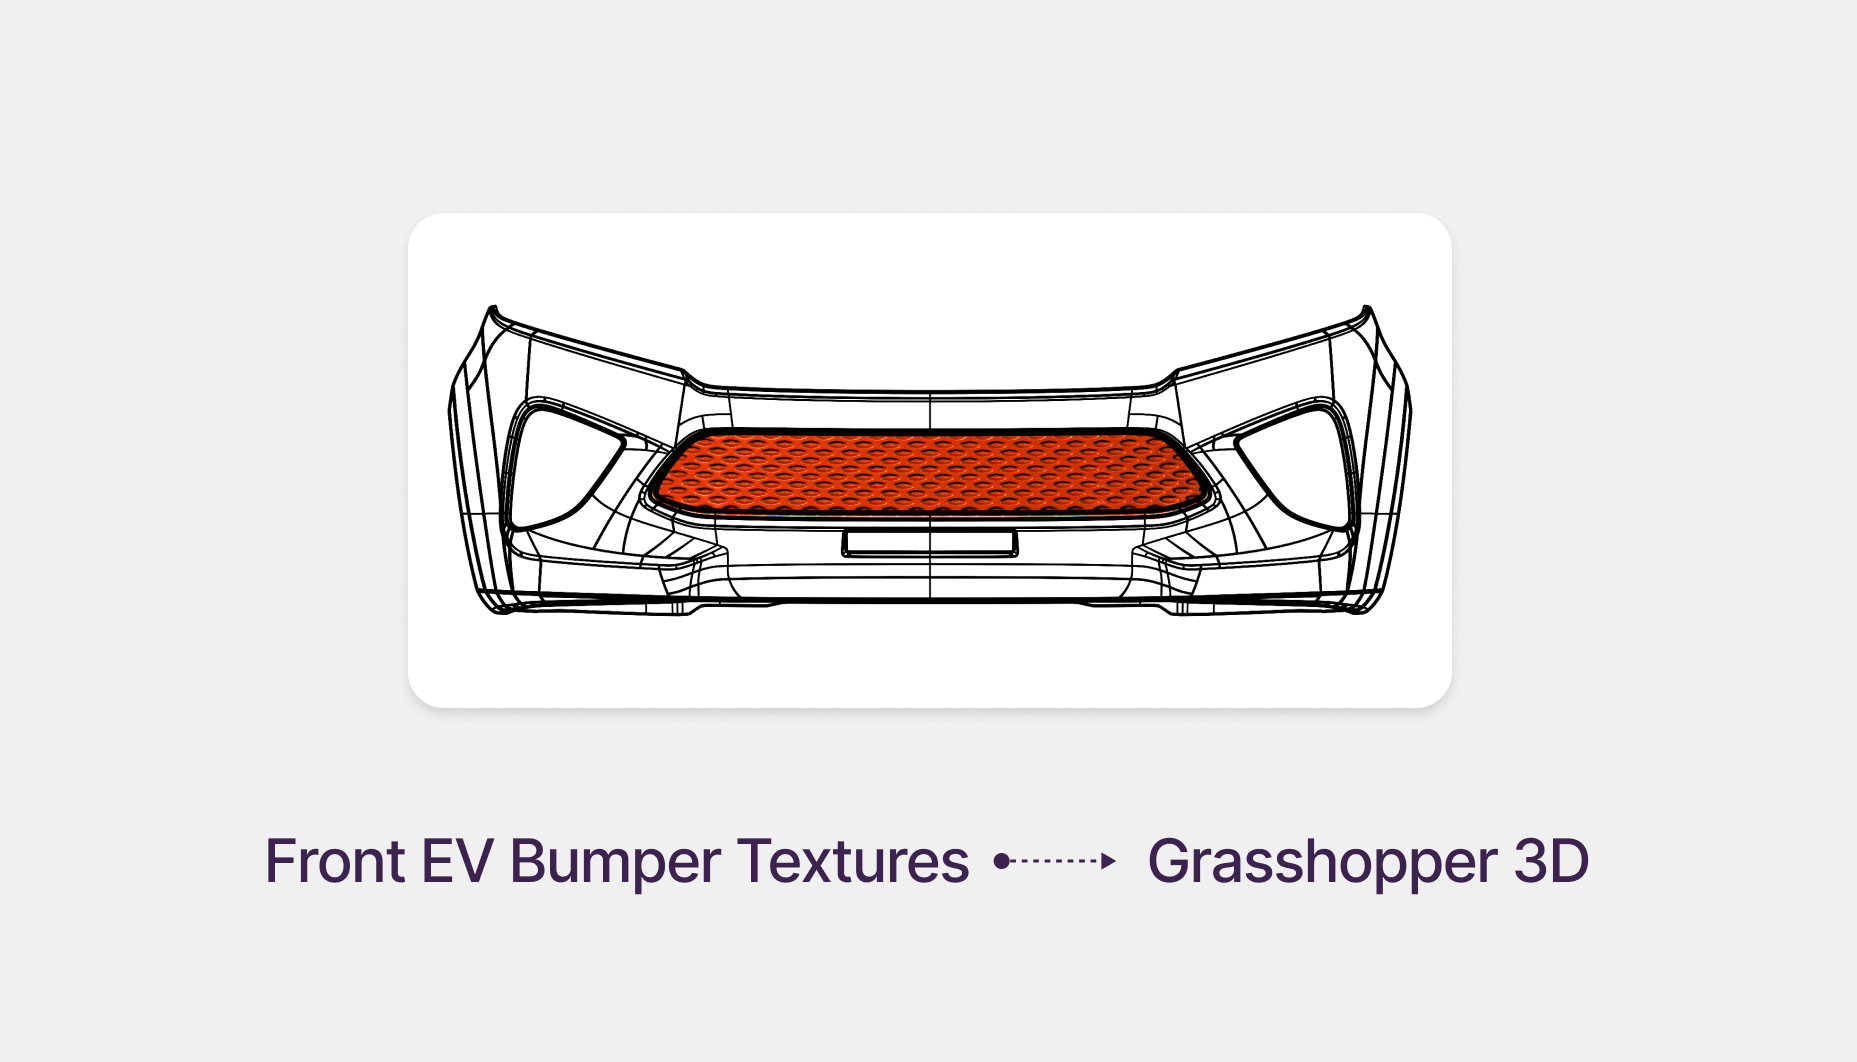
Car Front Bumper Parametric Textures in Rhinoceros Grasshopper 3D Tutorial

Download Files
Plugins: Lunchbox, Weaverbird
In electric vehicles (EVs), front bumpers no longer require large openings for engine cooling.
This shift opens up new creative territory for designers — surfaces that express identity, motion, and brand character through aesthetic parametric textures instead of perforations.
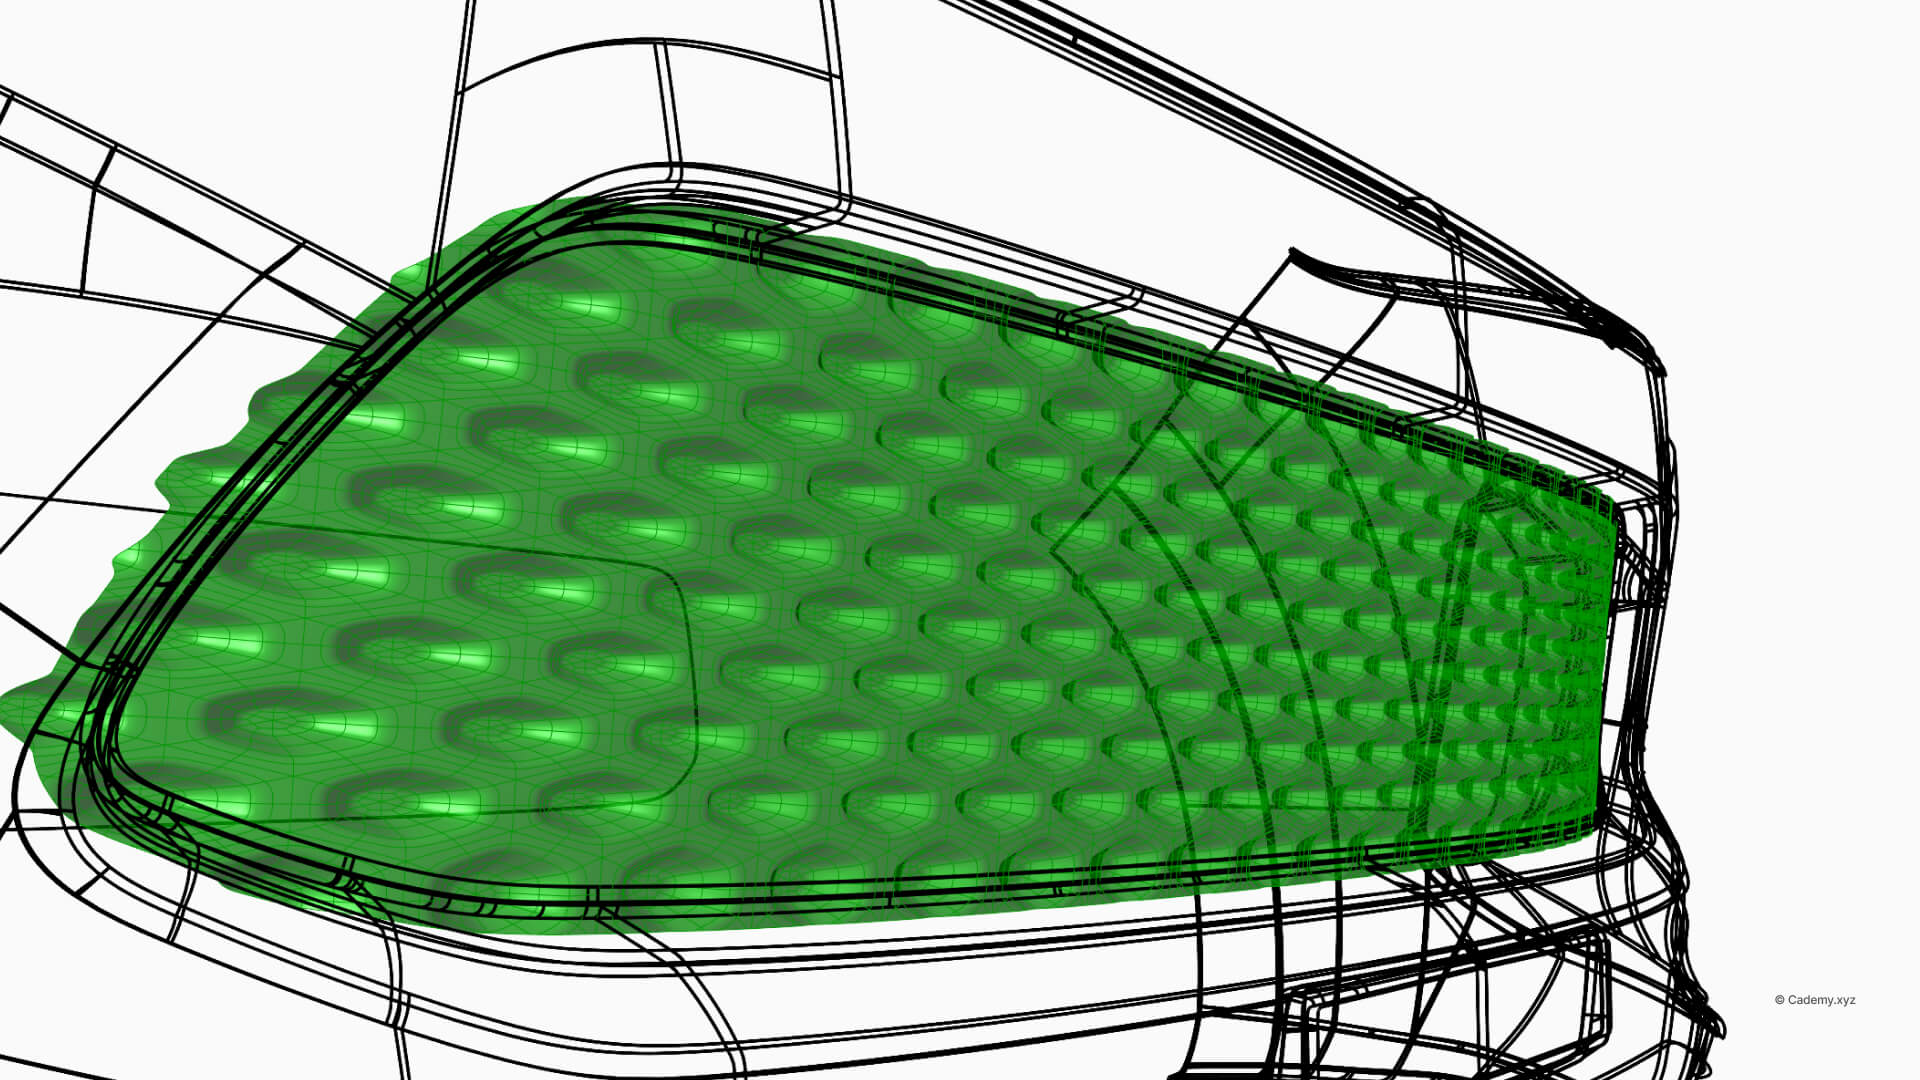
In this tutorial, we’ll design a non-perforated, continuous hexagonal texture across an EV bumper surface using Rhinoceros 3D and Grasshopper, with the help of Lunchbox and Weaverbird.
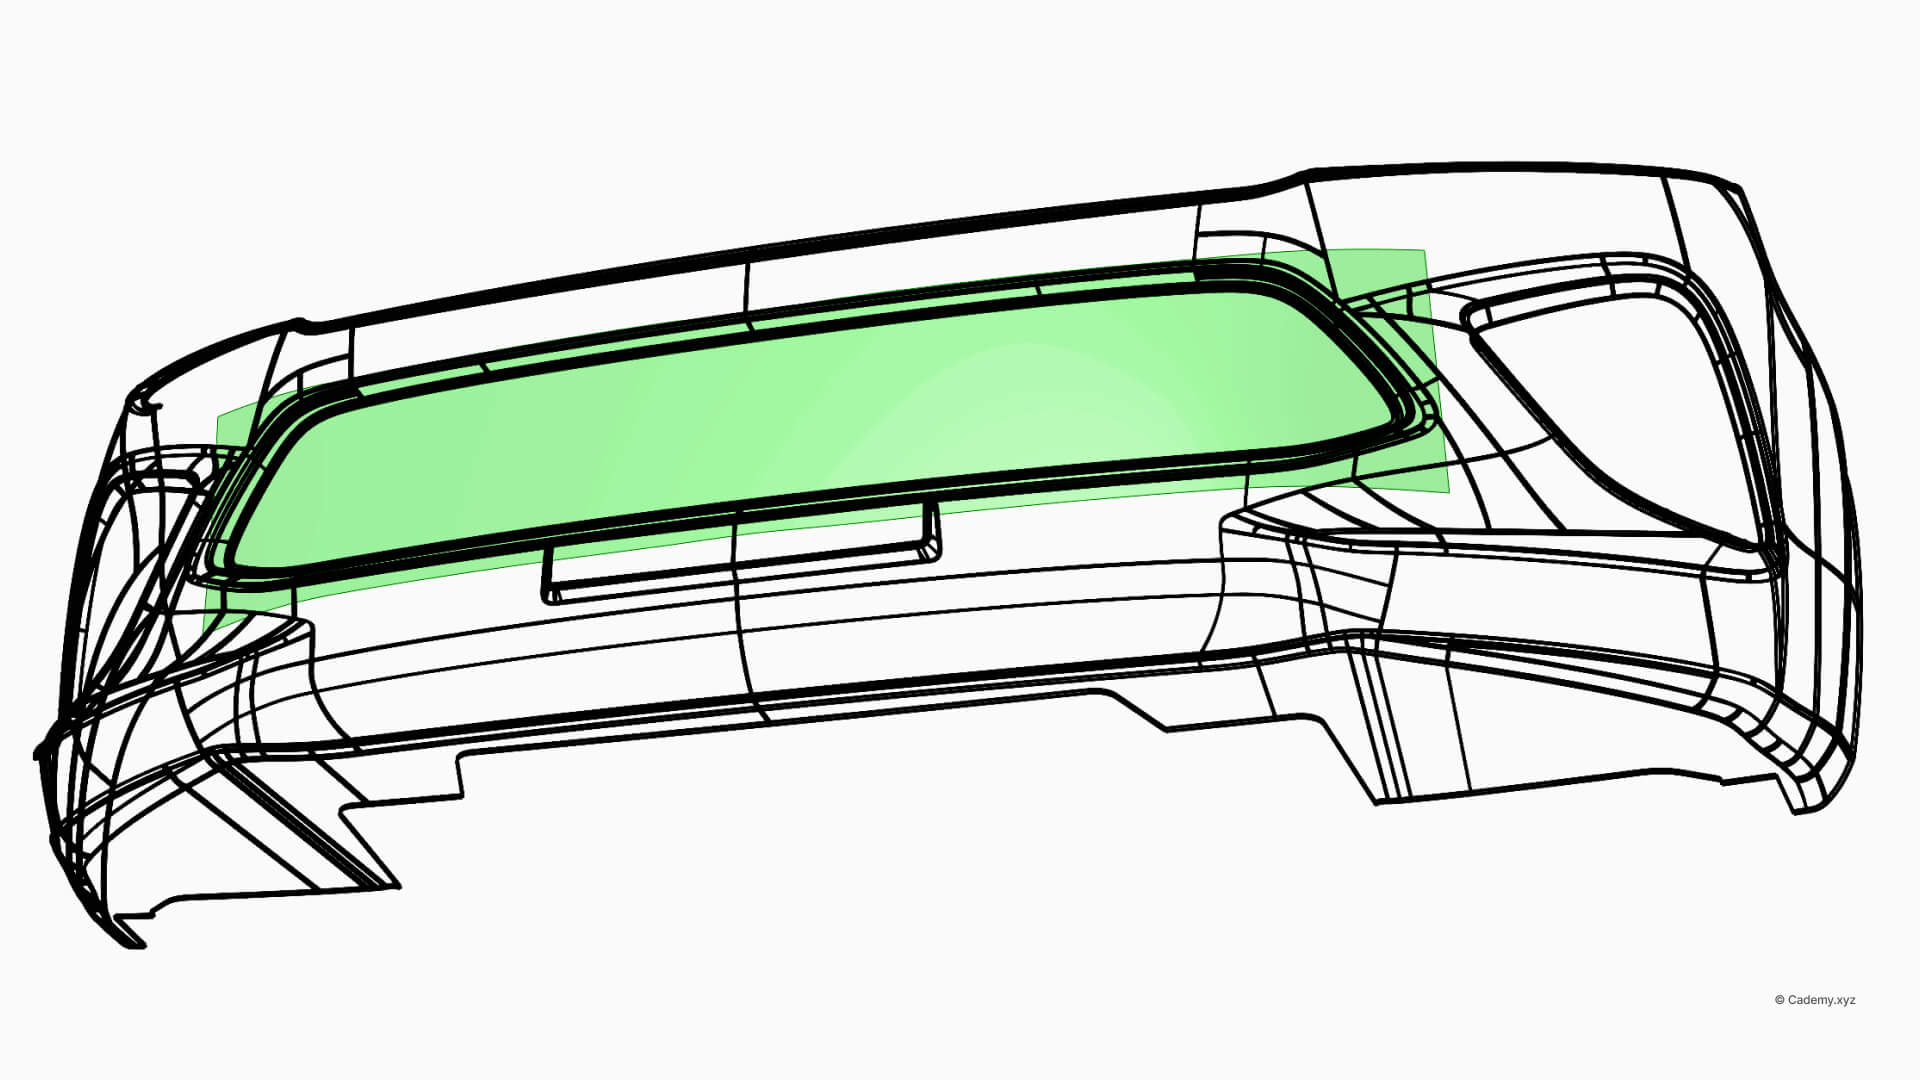
Step 1: Import the Bumper Surface into Grasshopper
- Reference your bumper’s boundary surface from Rhino using a Surface component.
- Ensure the normals face outward — this will define the correct offset direction later.
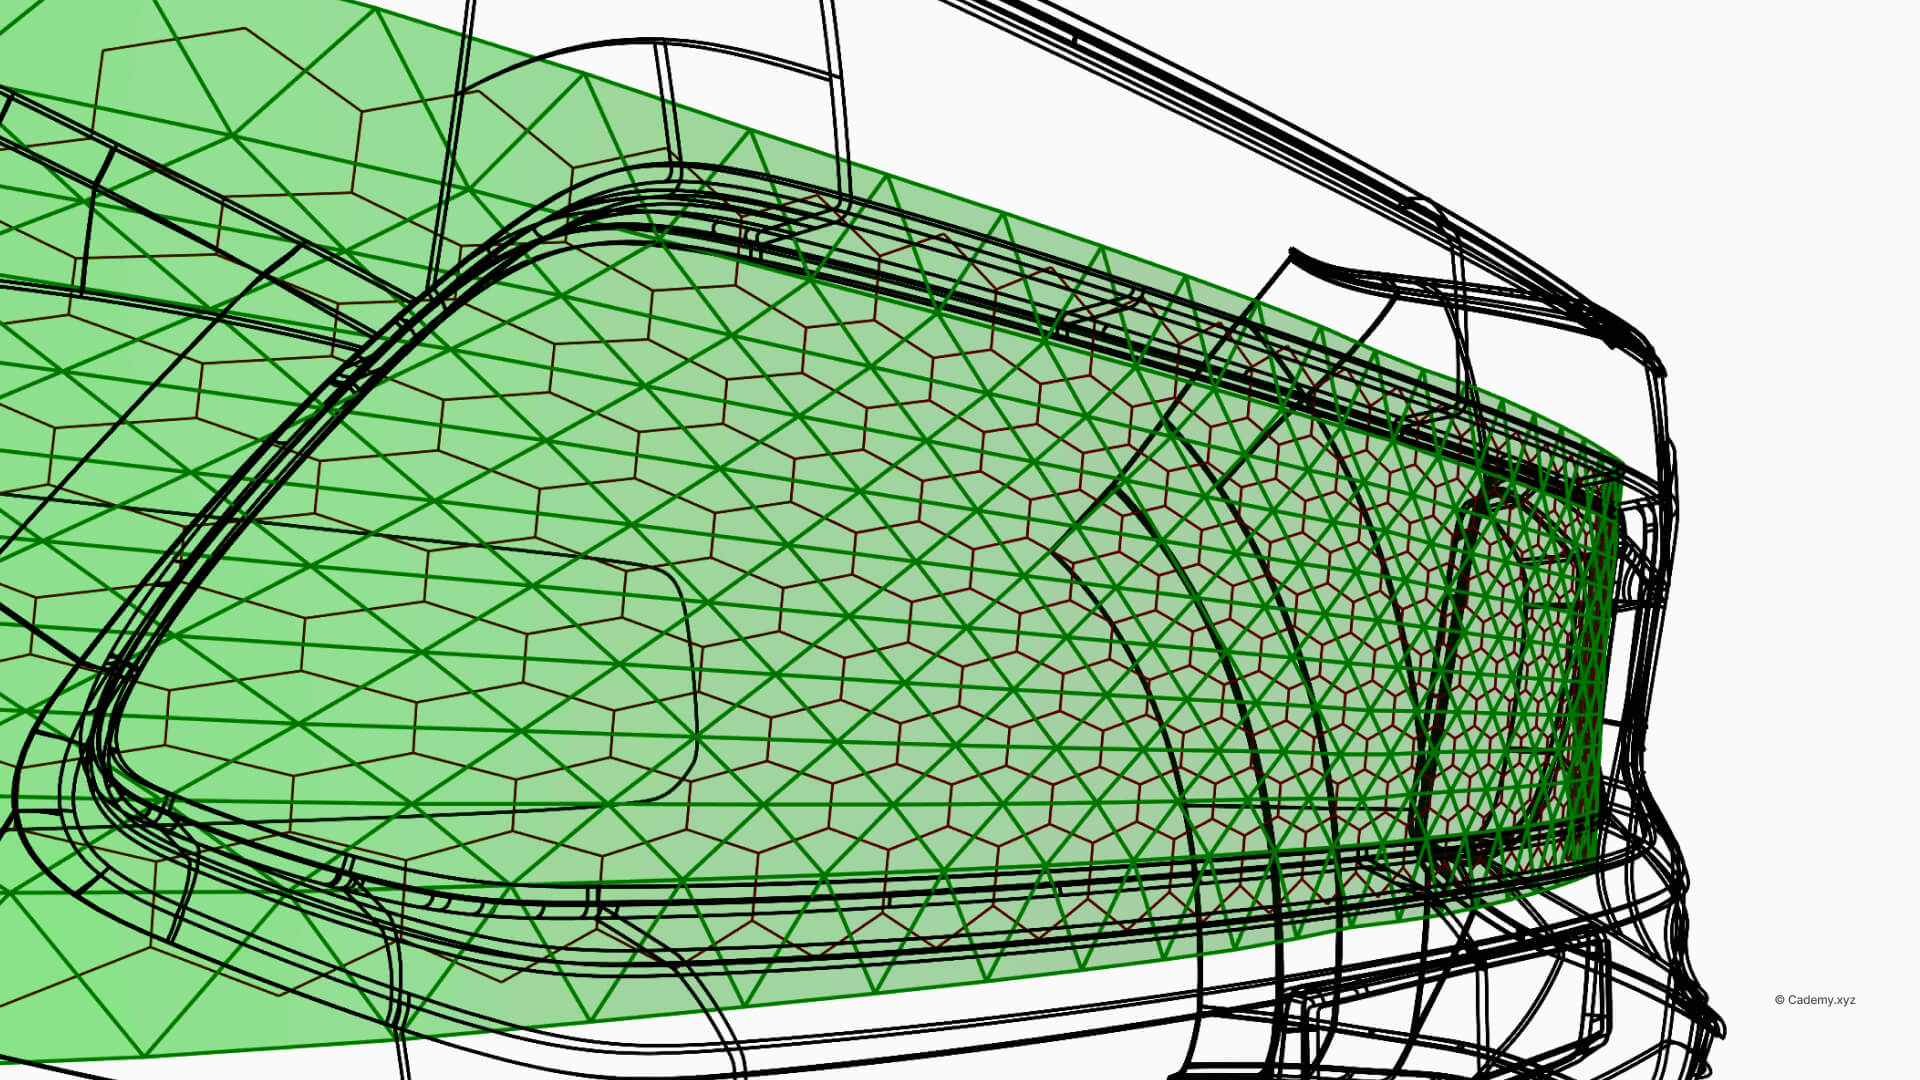
Step 2: Generate the Base Hexagon Grid with Lunchbox
- Use Lunchbox → Triangle B Panels and Dual Graph to create a base hexagons.
- Dual Graph to create a base hexagons.
- Adjust the U and V values to control texture density and alignment with the bumper’s curvature.
Step 3: Add Depth with Weaverbird Offsets
- Apply Weaverbird’s Picture Frame and Mesh Window component to generate subtle insets around each hexagon.
- These offsets add depth and reflection variation — without creating actual perforations — perfect for painted or molded EV panels.
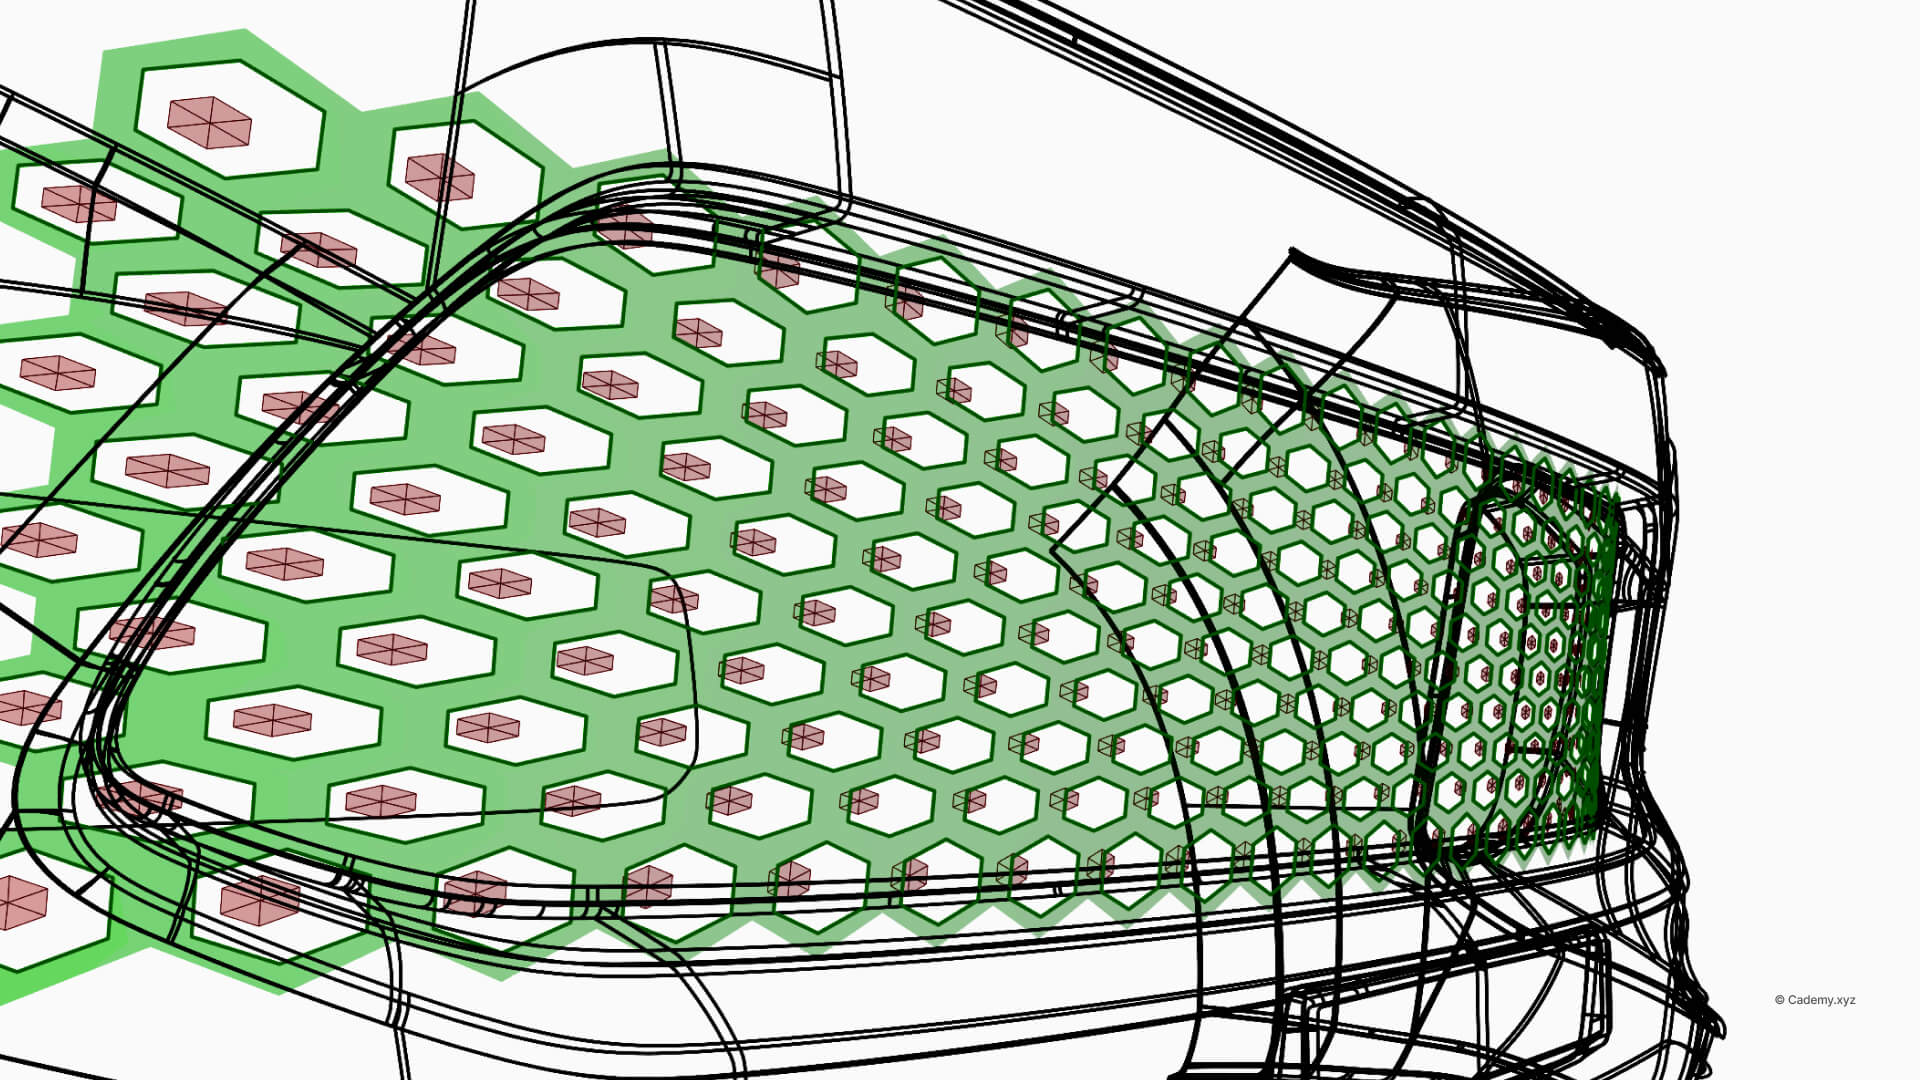
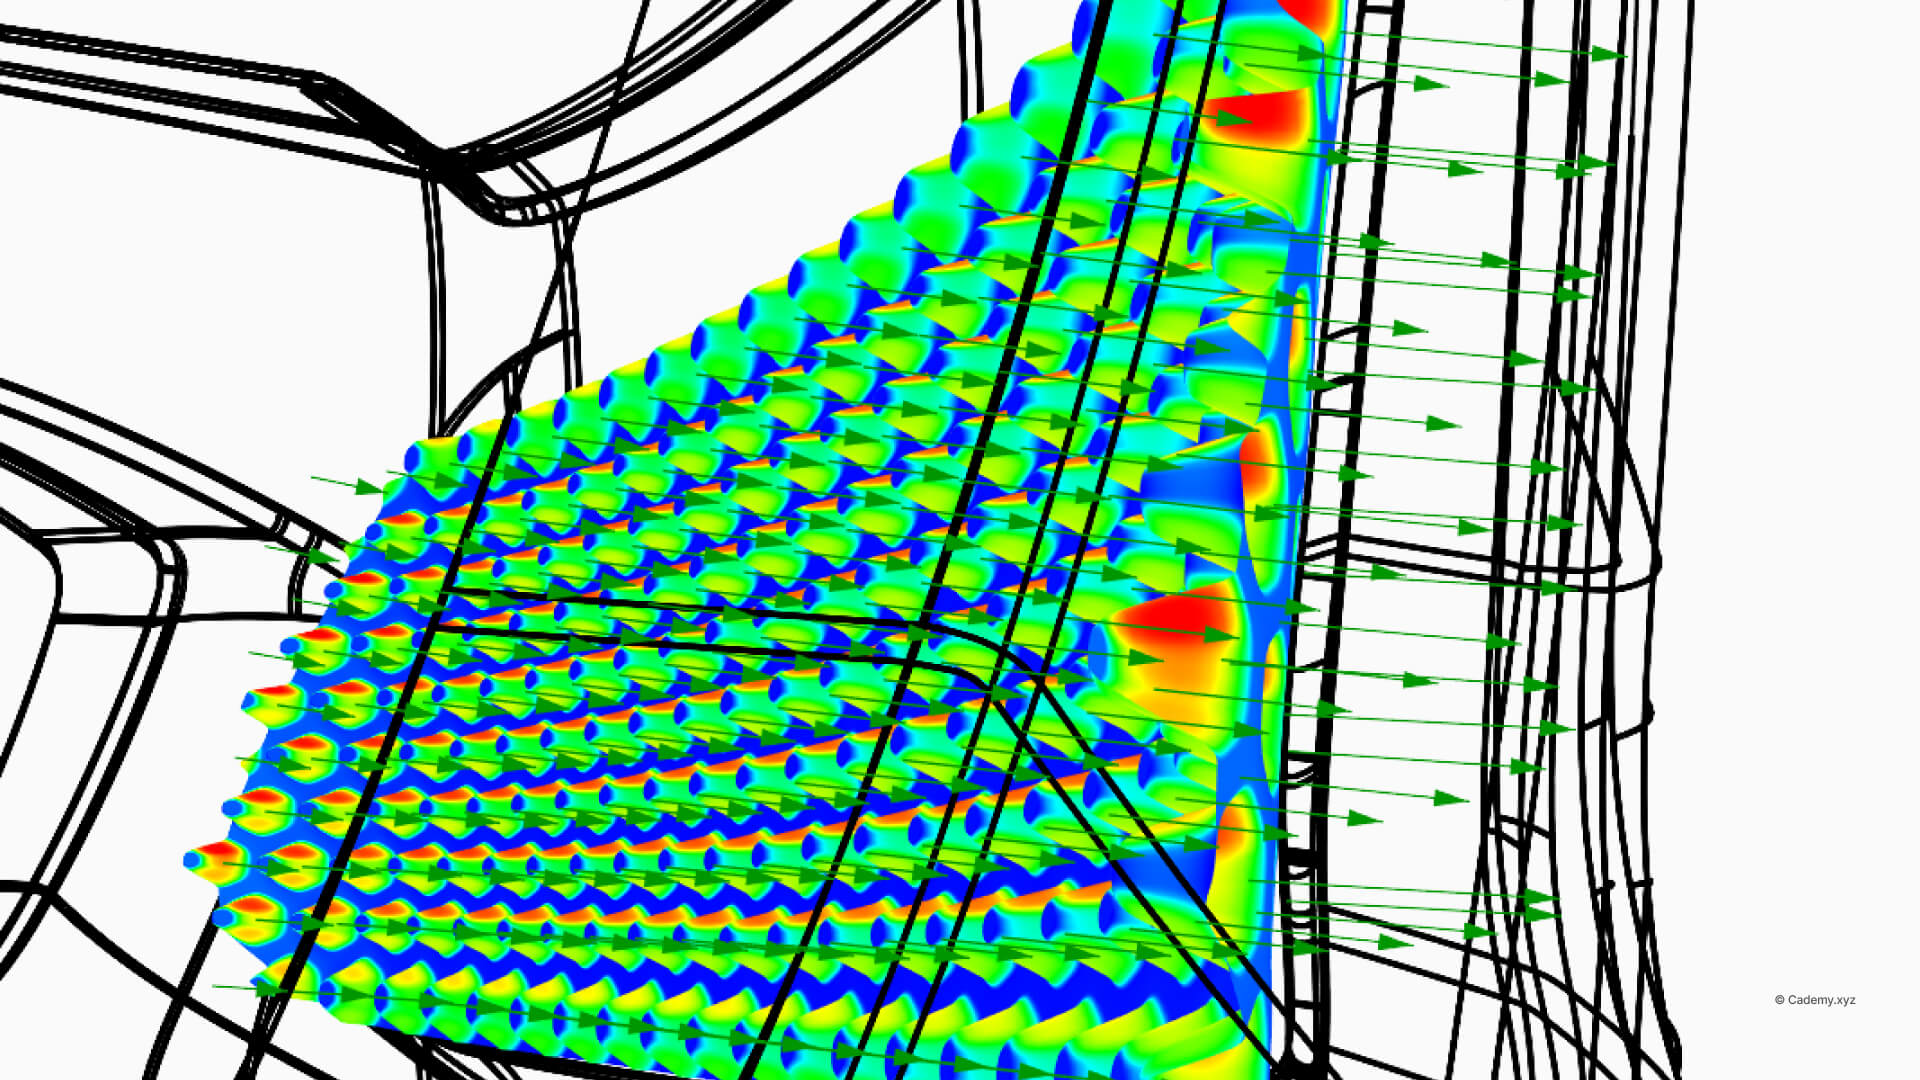
Step 4: Move Hexagons Along Surface Normals
- Move each hexagon slightly along the surface normal to vary highlight and shadow.
- Use a Graph Mapper to control this displacement smoothly across the bumper for a gradient effect.
Step 5: Loft & Combine Geometry
- Loft between the original and offset hexagon profiles to create a continuous textured surface.
- Merge all meshes with Mesh Join to keep geometry clean and unified.

Step 6: Smooth the Surface with Catmull-Clark
- Use Weaverbird’s Catmull-Clark Subdivision to round off sharp transitions.
- Control subdivision levels for a refined, manufacturable finish.
Conclusion
You’ve now created a non-perforated, aesthetic texture for an EV front bumper using Grasshopper.
This approach blends surface design and visual storytelling, helping define a unique brand signature without compromising aerodynamics or manufacturability.
Try swapping hexagons for triangles or diamonds, or use attractor points to vary scale — a small tweak can change the whole visual language of the bumper. Don’t forget to download the resource files and share your results.
Thanks for reading ❤️
