Automotive Speaker Parametric Texture in Grasshopper 3D & Rhino 3D

Automotive Parametric Texture Workflow in Grasshopper 3D & Rhino 3D
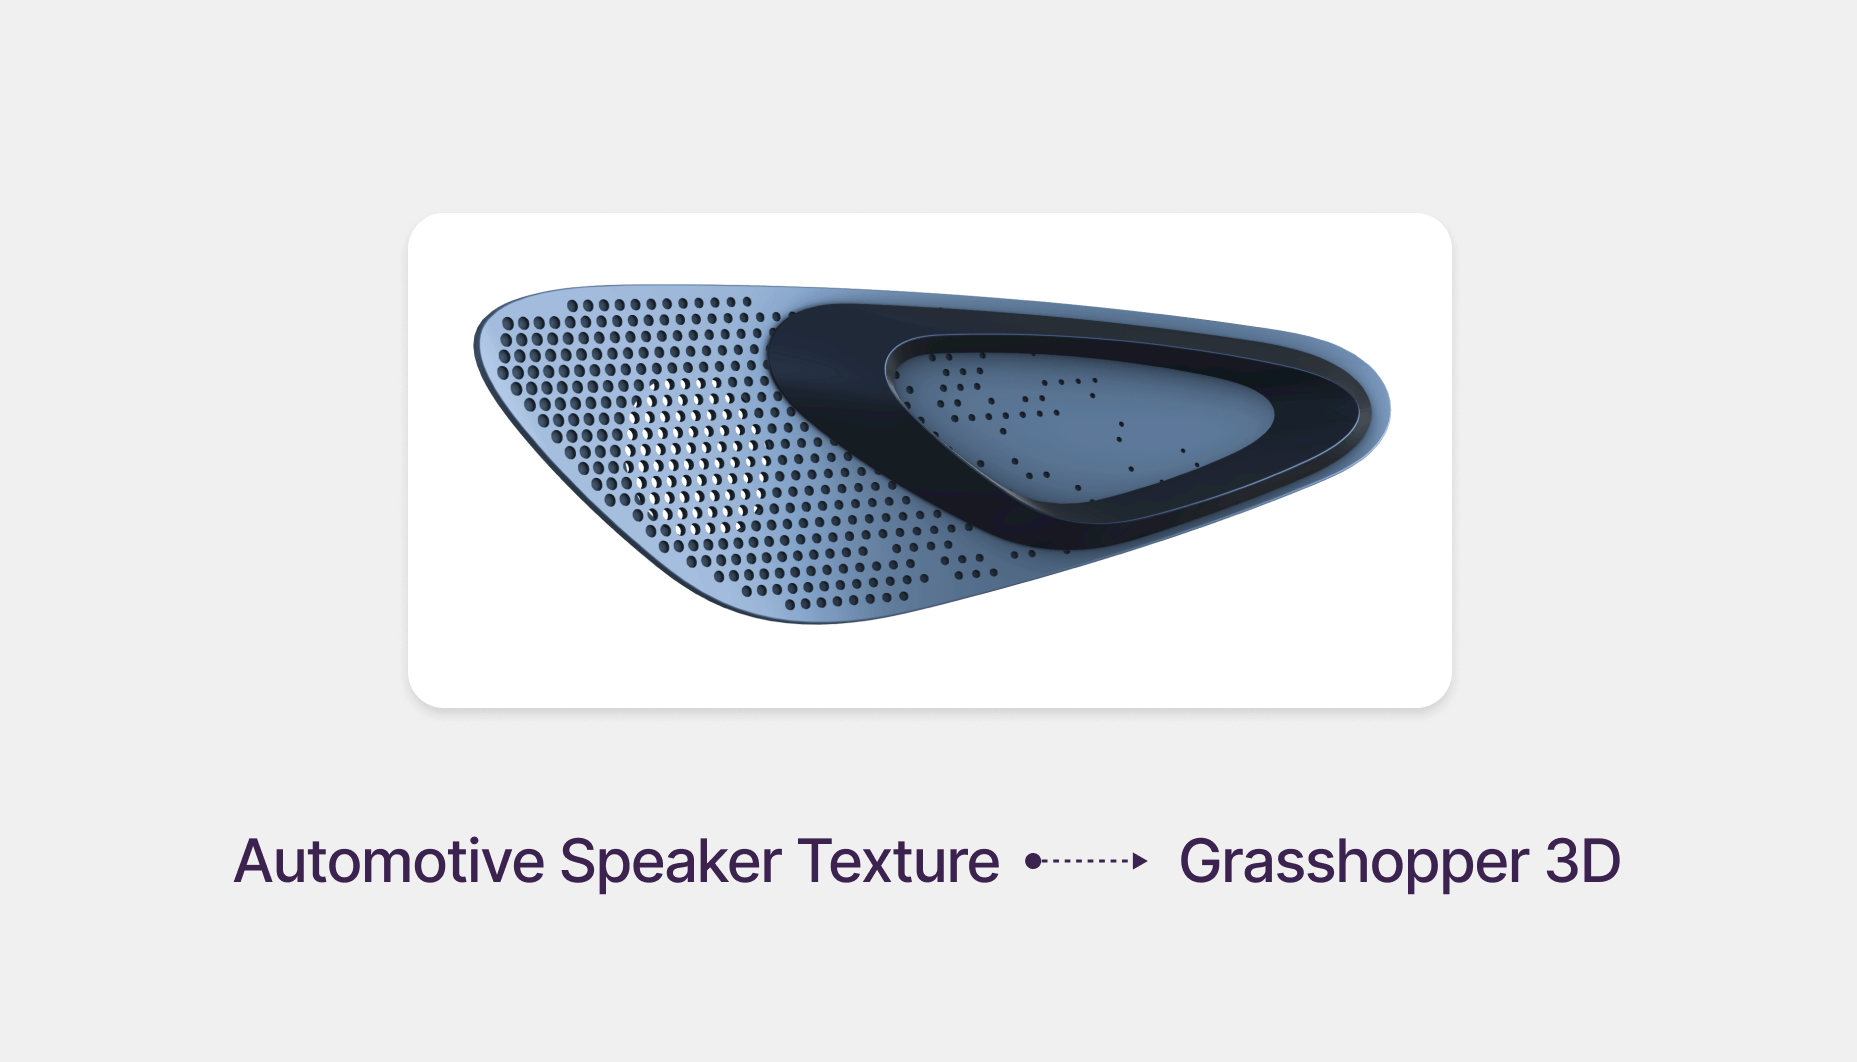
Ideal for automotive designers and industrial designers, this tutorial walks you through creating a speaker grille texture inspired by a Dynaudio design spotted in a BYD vehicle during an Uber trip.
We’ll model the door panel section in Rhino 3D, then use Grasshopper 3D to generate a random-yet-structured perforation pattern—perfect for automotive interiors and design for manufacturing.
Download Resource Files
Software Used
- Rhinoceros 3D
- Grasshopper 3D
- Lunchbox Plugin
Step 1 – Reference Image & Curve Setup
- Import the reference image and place it over the target door panel polysurface.
- Additional Resource : https://grabcad.com/library/car-door--1
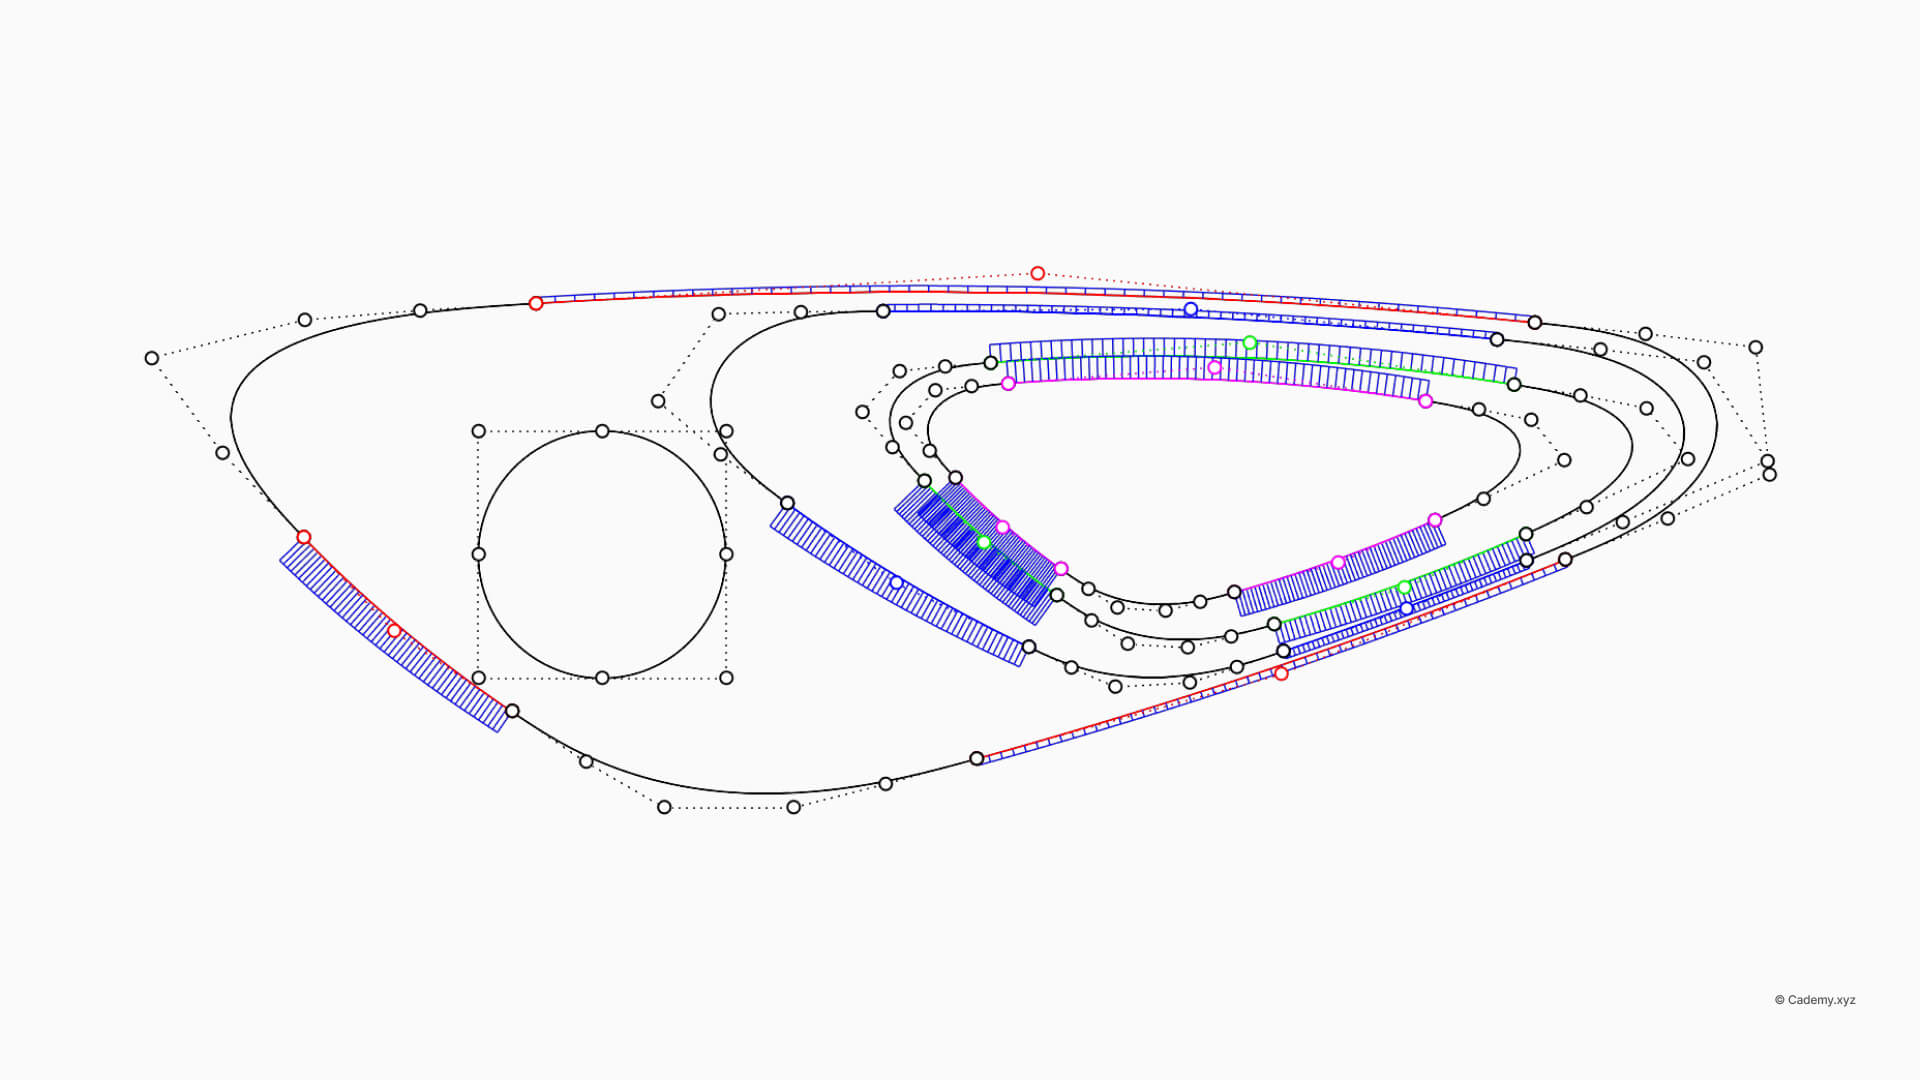
- Draw outline curves (Degree 3) matching the speaker grille and handle regions.
- Blend curves to round sharp corners for manufacturable geometry.
- Outer curve = overall speaker grille boundary.
- Inner curves = door handle cutouts.
Step 2 – Splitting the Door Panel
- Split the polysurface using your boundary curve to isolate the textured grille area.
- For the handle:
- Project the three curves onto the polysurface.
- Use Sweep 2 Rails for Curve A → B and B → C with cross-sections.
- Join the resulting surfaces and fillet edges for smooth transitions.

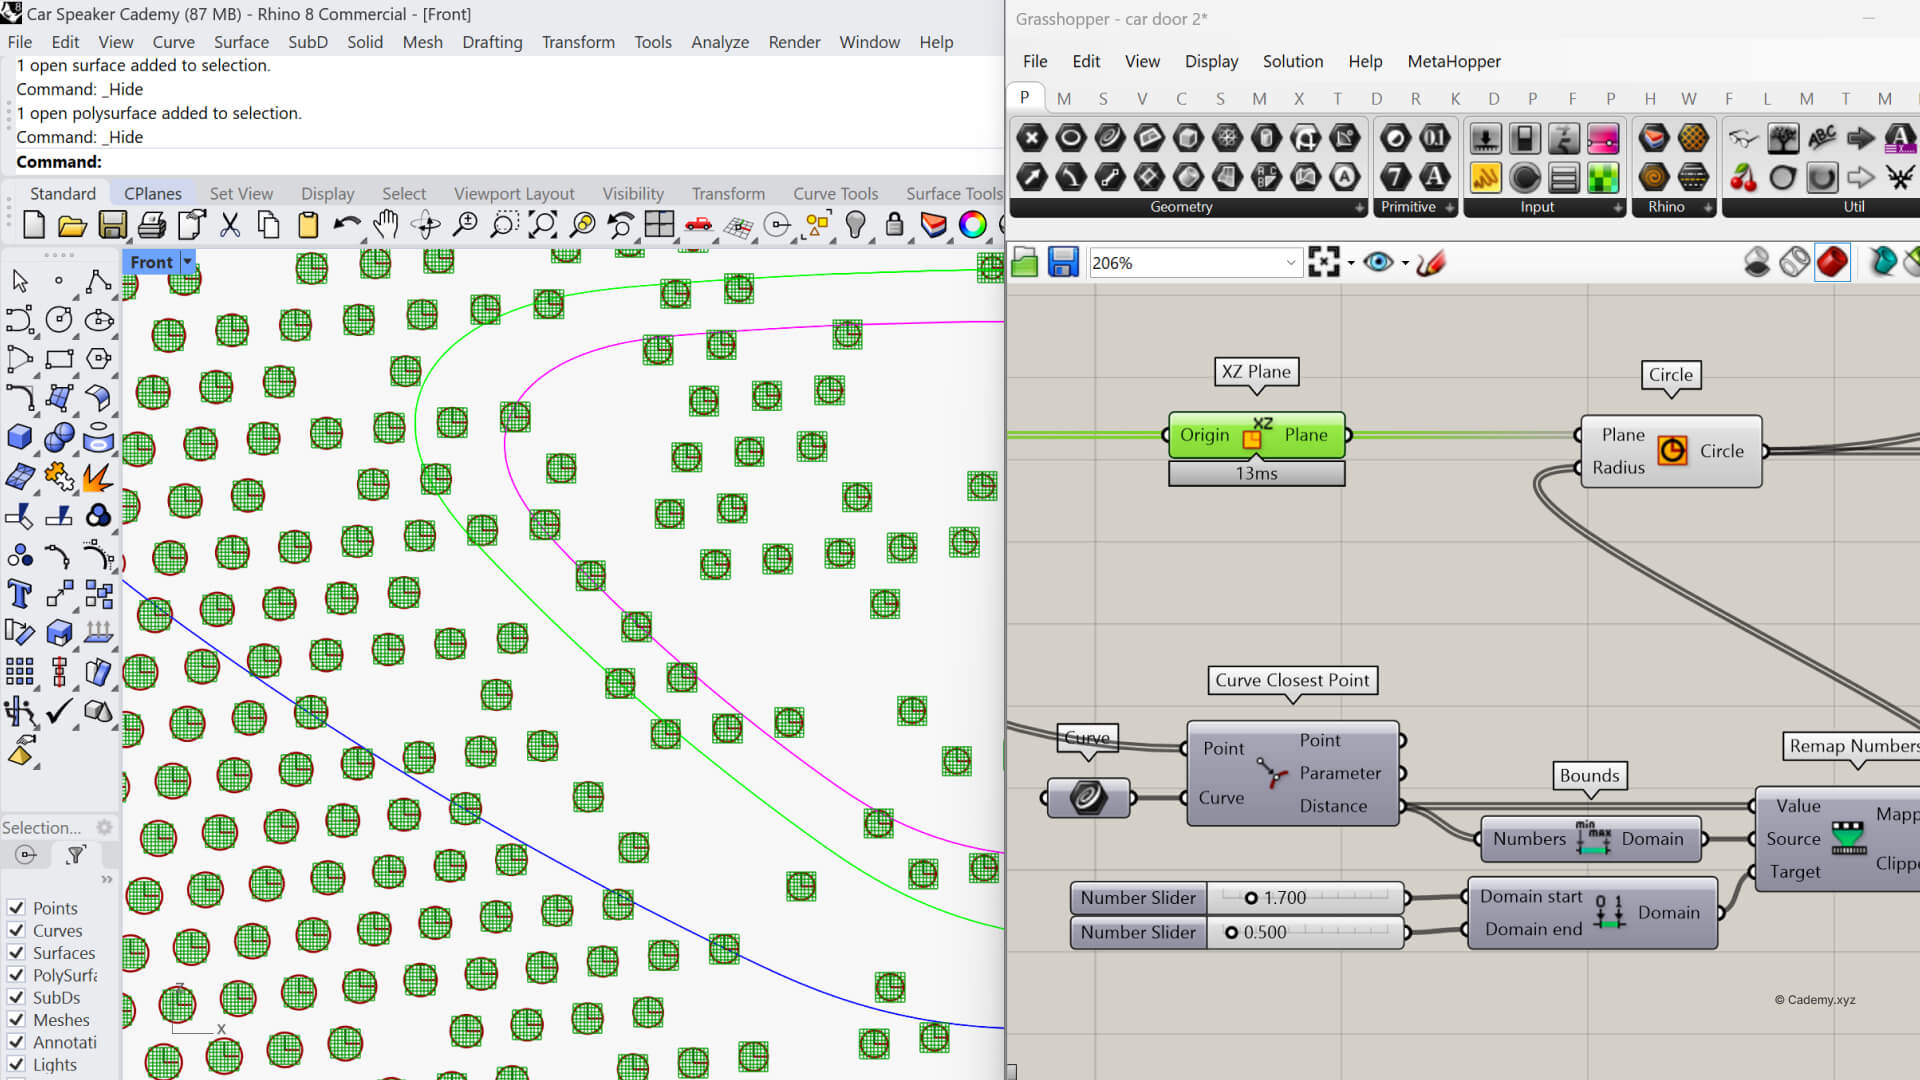
Step 3 – Preparing Grasshopper for Texture Distribution
- Import the two boundary curves into Grasshopper.
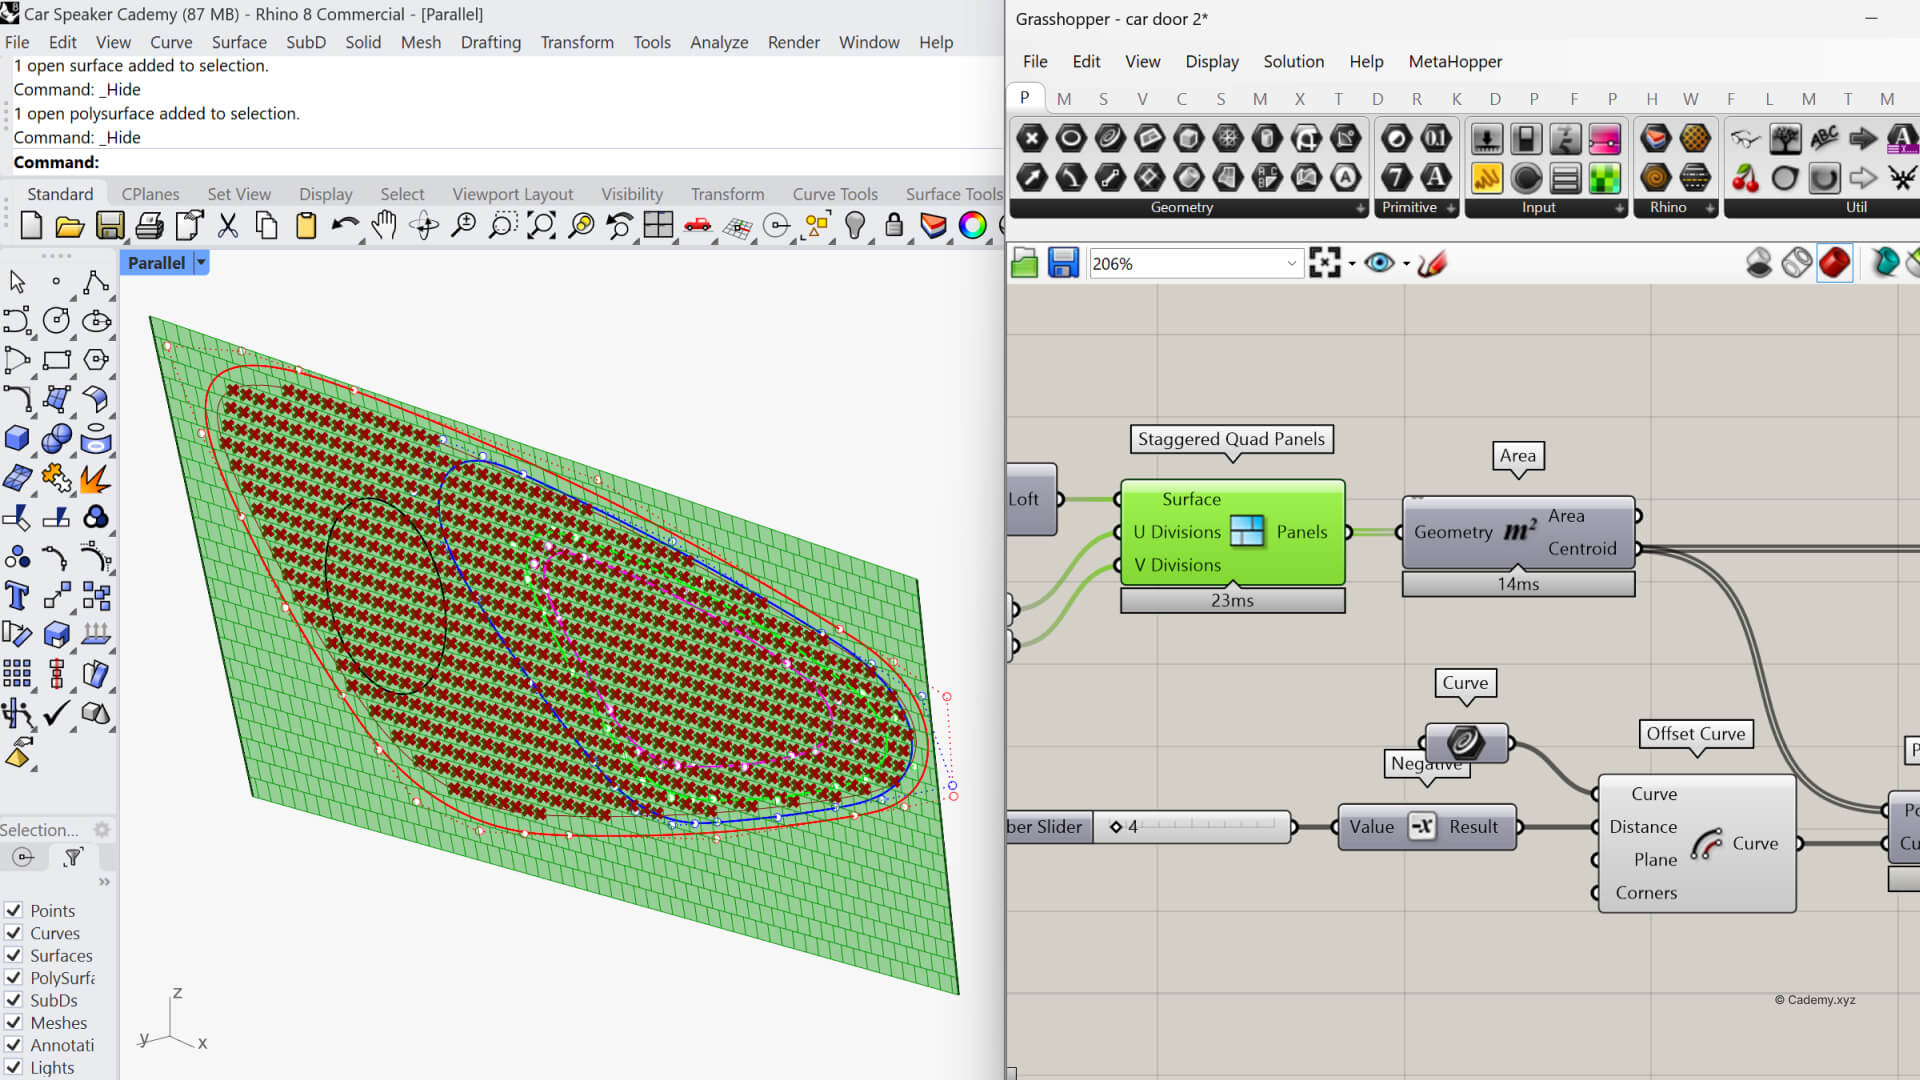
- Loft the curves to create a surface.
- Install Lunchbox (via Rhino’s Package Manager).
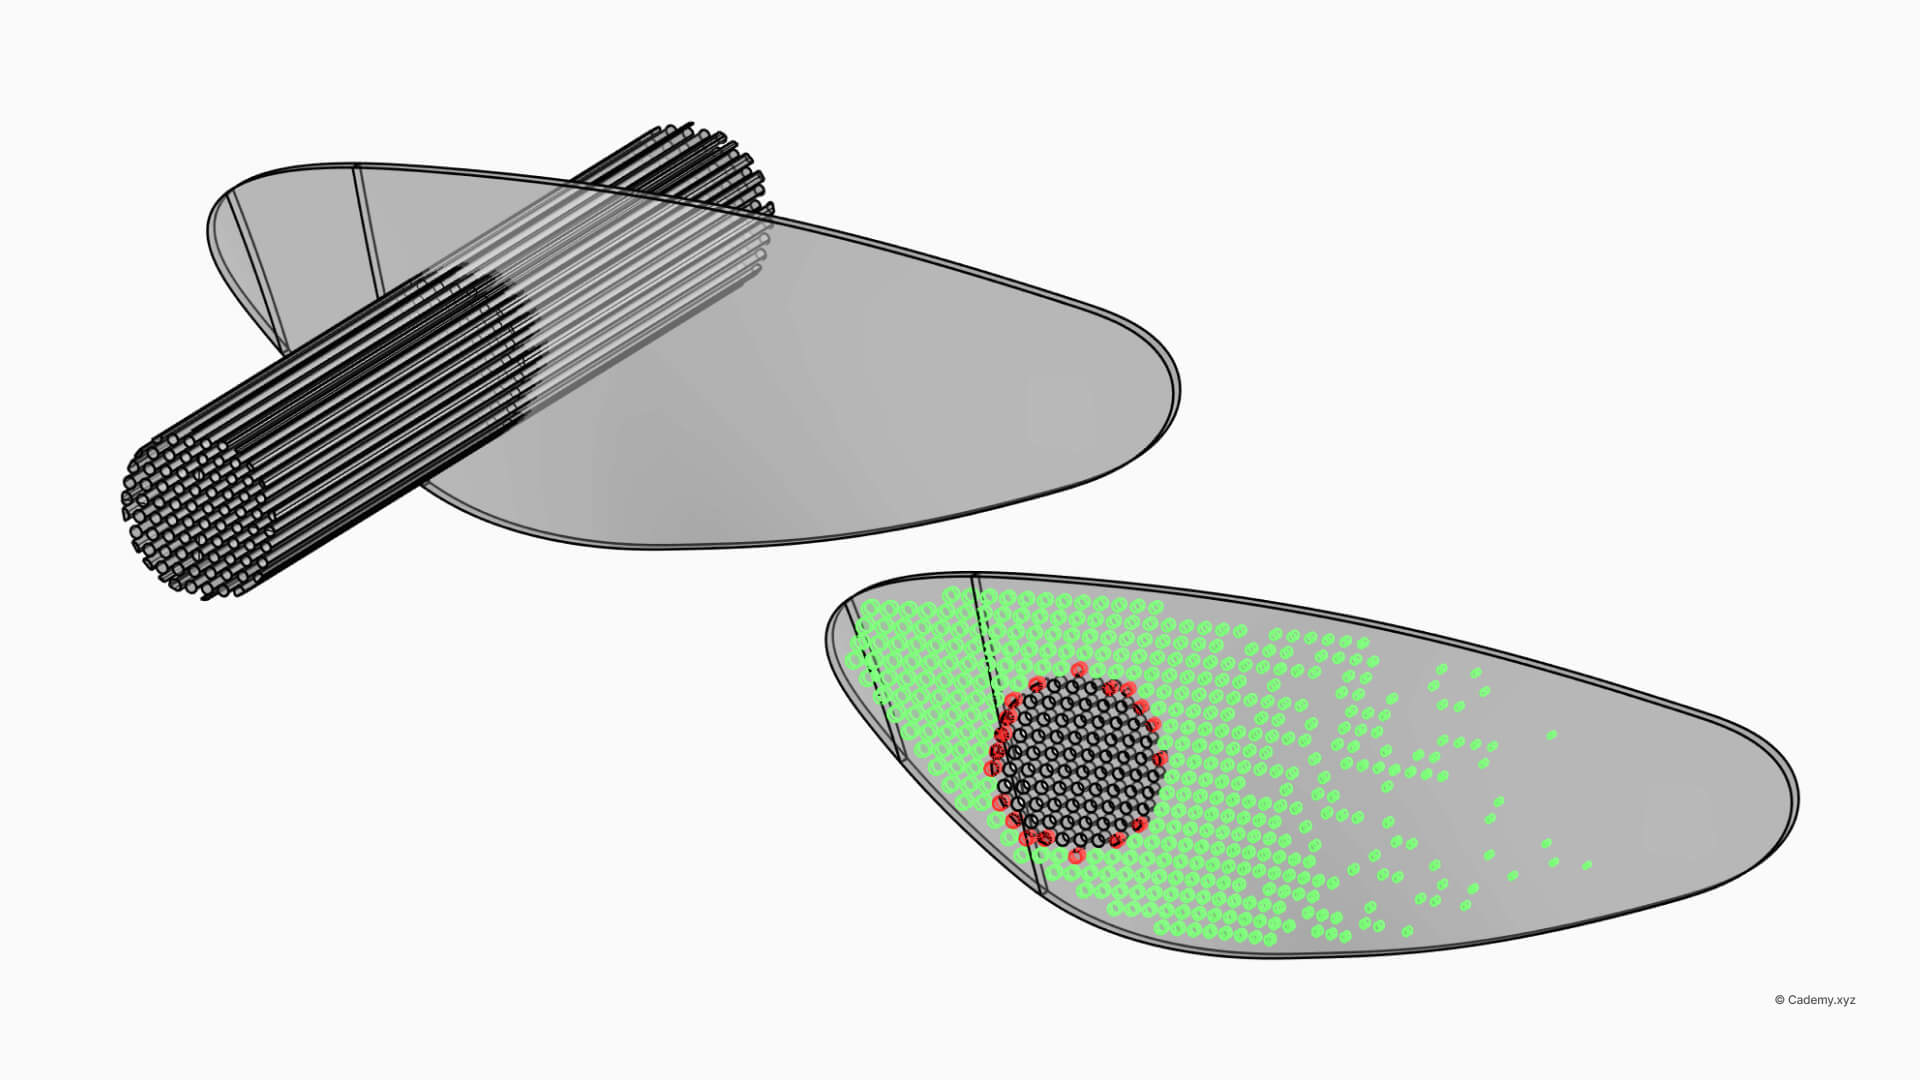
- Apply a staggered panel distribution for even spacing.
- Extract centroids of the panels for perforation placement.
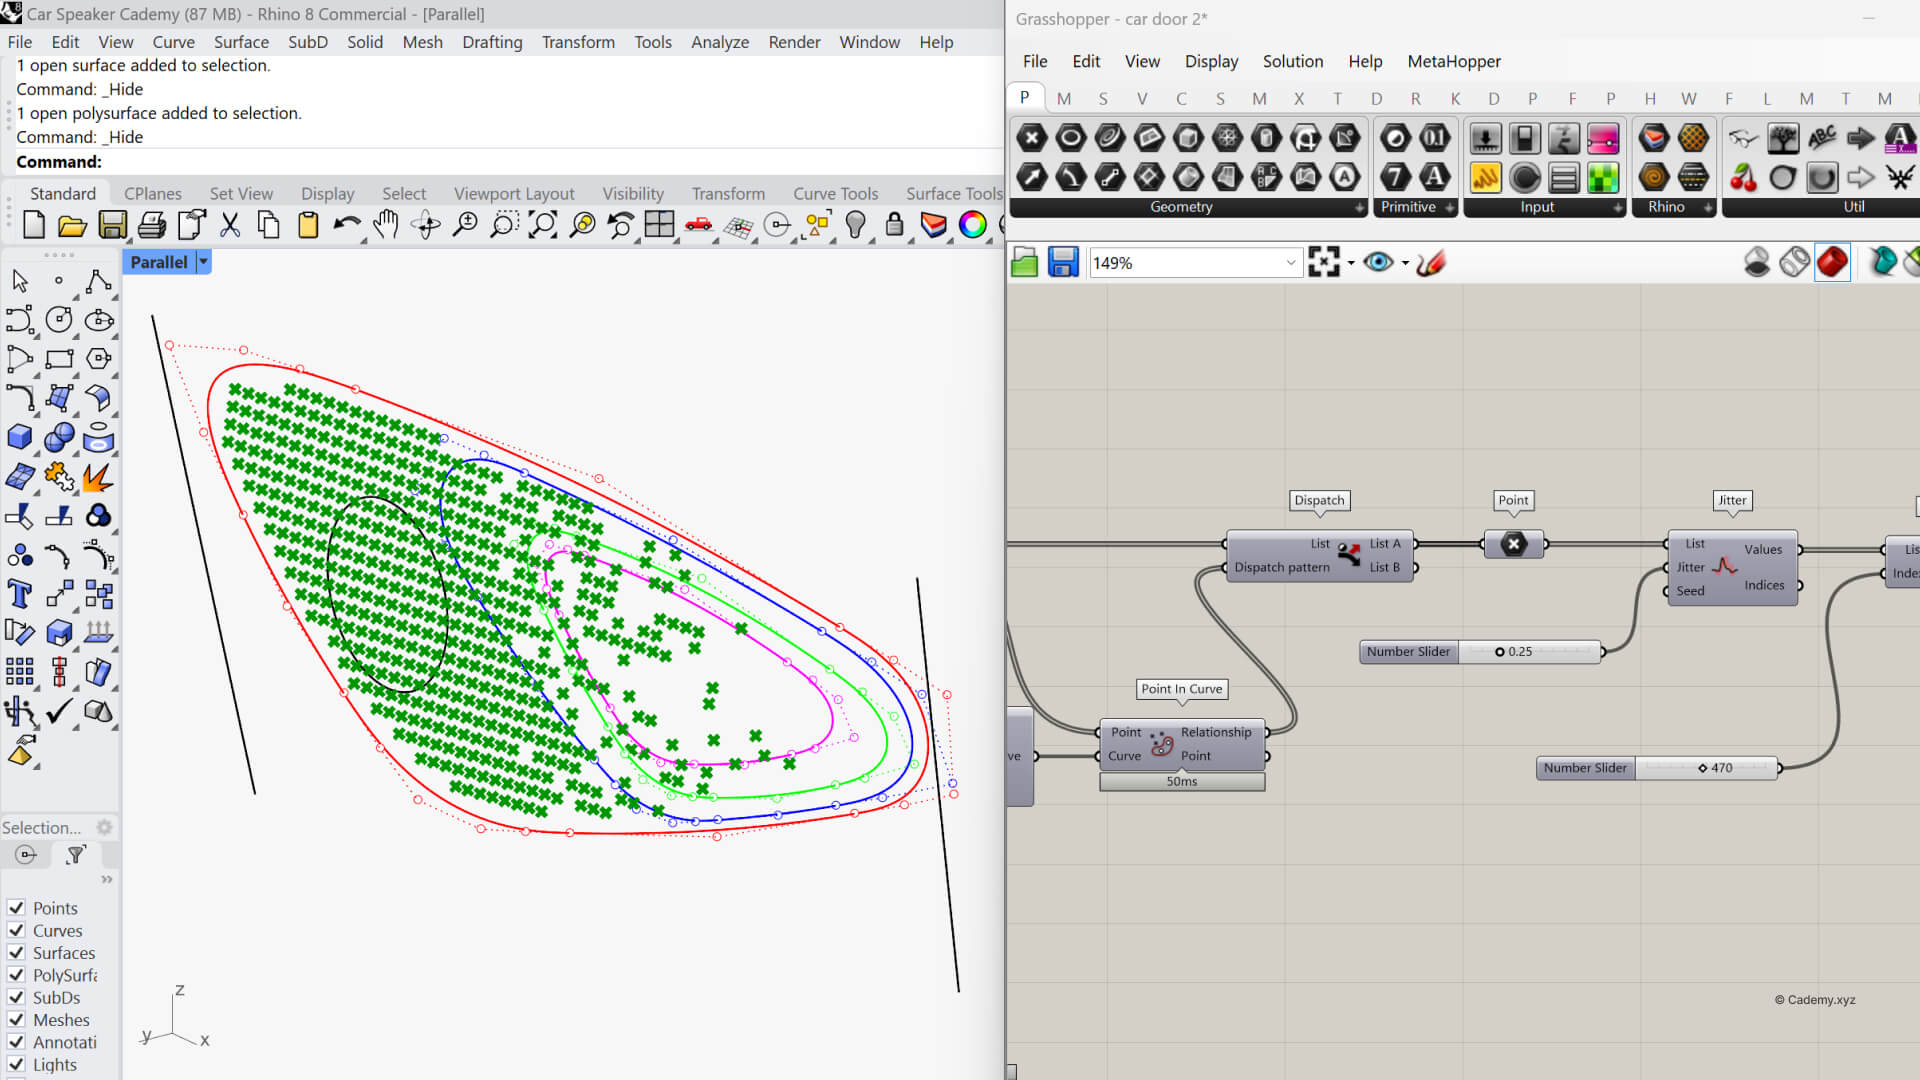
- Use Point in Curve to remove points outside the grille boundary.
Step 4 – Random Non-Random Culling
To achieve a controlled yet natural look:
- The point list is sorted left-to-right.
- Apply Jitter to slightly shuffle the list.
- Use Split List to select a fixed number of points (e.g., first 500) for perforations.
Step 5 – Attractor-Based Radius Control
- Create an attractor line to fade hole sizes from left to right.
- Measure distances from each point to the attractor geometry.
- Use Remap Numbers for manufacturable hole size ranges (avoid overly small/large radii).
Step 6 – Boolean Operations for Final Geometry
- Solid Difference for the speaker and tweeter openings.
- Project the perforation circles to split the polysurface.
- Extrude the holes and Boolean Difference them from the solid body.
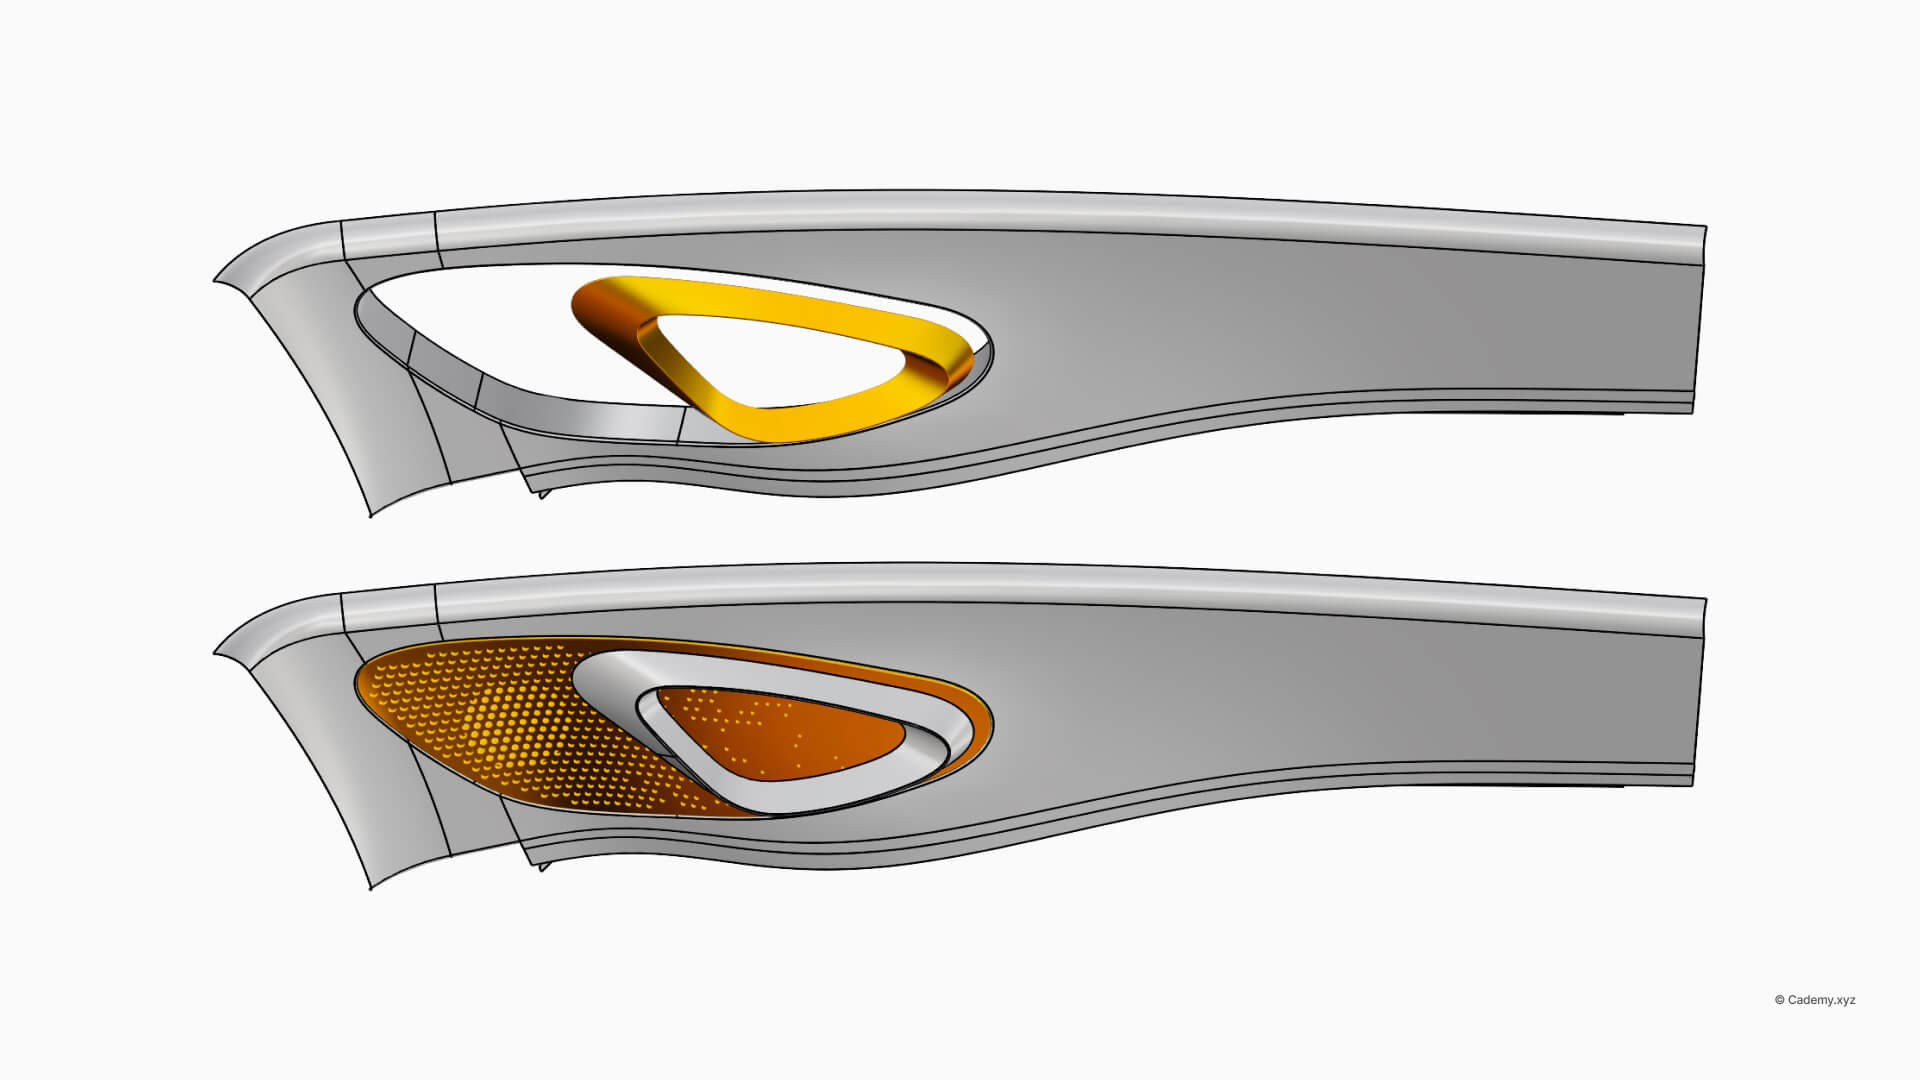
Step 7 – Final Export
- Apply materials and render in KeyShot or another visualization tool.
- Export:
- STEP for manufacturing.
- 3D print-ready STL for prototyping.
- Texture curves only, if manufacturing will be handled in another CAD system.
Learn Advanced Automotive Texture Workflows
This workflow is part of our Advanced Parametric Texture Workshop at Cademy, where you’ll master Grasshopper for design for manufacturing—including complex fading patterns, CMF development, and Class A surface integration.
Whether you’re an automotive designer working on speaker grilles, air vents, or seat perforations, or an industrial designer developing high-end CMF textures, Grasshopper 3D & Rhino 3D offer unmatched precision and flexibility.
